 Special valentine gifts and more: Sweetheart Knit Valentine DIY Tutorial
 knitting and crochet tutorial
Designing these Valentines has been an wonderful process. Sometimes, I forget how many decisions go into designing. Making up the pattern is the simple part. I forget all the other pieces - choosing which yarn, which color, which stitches, which embroidery, what words – oh my goodness, this was so much fun. Well . . . It became fun. At first, I did panic a bit about all the decision making. I so wanted them to look good! Then, I remembered that the point of creating is to have fun experimenting - this is the process, the creative process. And so I did - I just played with it all. I got lots of positive feedback from the kids, and even the hubby along the way. They are so fast to whip up and you can do all sorts of things with them. Hang them as a garland. Put them in lunchboxes. Stick them in drawers as a Valentine surprise. Hide them in their raincoat for them to find next spring. . . . Just do one and you’ll get addicted!

Have fun with buttons . . .
Use twine, always a favorite of mine . . .

It was hard for me to stop!
Here's how you do it . . . .
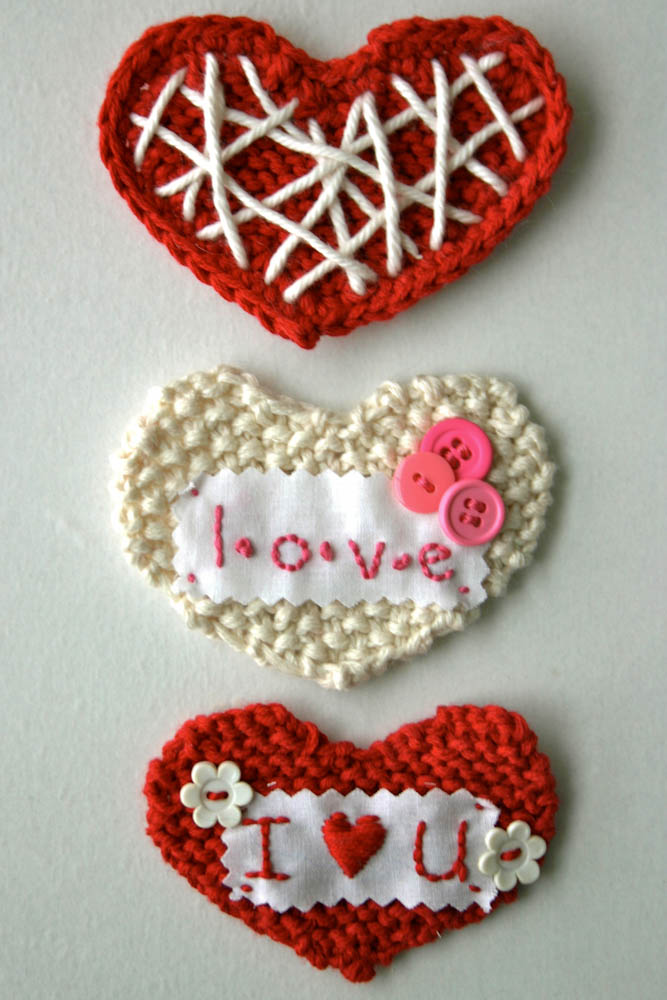
I chose a DK weight yarn and tried making the hearts with a number of different stitch fabrics - garter stitch, moss stitch, an altered rib stitch, etc. I thought the garter stitch shrunk the shape of the heart a bit too much for my taste. Show me if you make it with a different stitch! I think stiffer yarn (close to 100% cotton worked the best).
Here is the basic heart pattern and chart in the altered rib:


Heart in Altered Rib Stitch
Cast on 1 st.
Row 1: K1 (1st.)
Row 2: Make three sts. into 1st., K1, P1, K1 (3 sts.)
Row 3: K row; m1 at each end of row by working in same st. twice [wsst] (K1 in front, K1 through back of loop) (5 sts.)
Row 4: K1, P1 to end; m1 at each end of row by wsst keeping to pattern (7 sts.)
Row 5: K row, m1 at each end of row by wsst (9 sts.)
Row 6: K1, P1 to end; m1 at each end of row by wsst keeping to pattern (11 sts.)
Row 7: K row, m1 at each end of row by wsst (13 sts.)
Row 8: P1, K1 to end (13 sts.)
Row 9: K row; m1 at each end of row by wsst (15sts.)
Row 10: K1, P1 to end(15 sts.)
Row 11: K row; m1 at each end of row by wsst (17sts.)
Row 12, 14, 16, 18: P1, K1 to end.
Row 13, 15, 17: K row
Right side of heart:
Row 19: K2tog, K6 sts., turn (7 sts.)
Work on these 7 stitches only;
Row 20: P2tog, K1, P1 to end (6 sts.)
Row 21: k2tog, k2, k2tog (4 sts.)
Bind off in pattern.
Rejoin yarn to left side of heart:
Row 19: sl1, K1 pass slipped st. over, K5, K2tog (7 sts.)
Row 20: [K1, P1] 2 times, K1, P2tog, (6 sts.)
Row 21: k2tog, k2, k2tog (4 sts.)
Bind off in pattern.
Weave in loose ends.
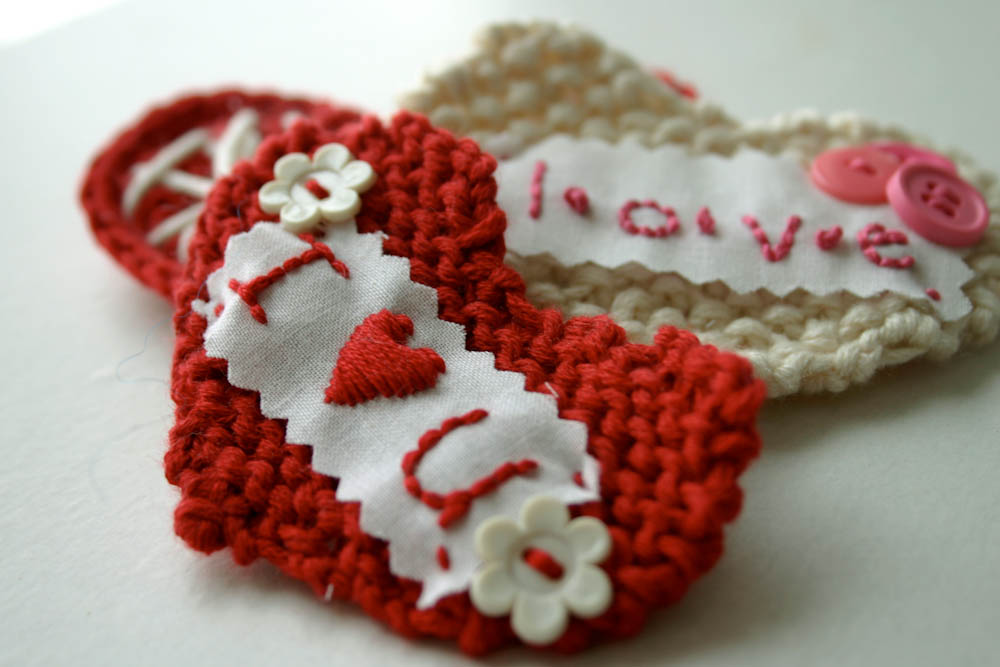
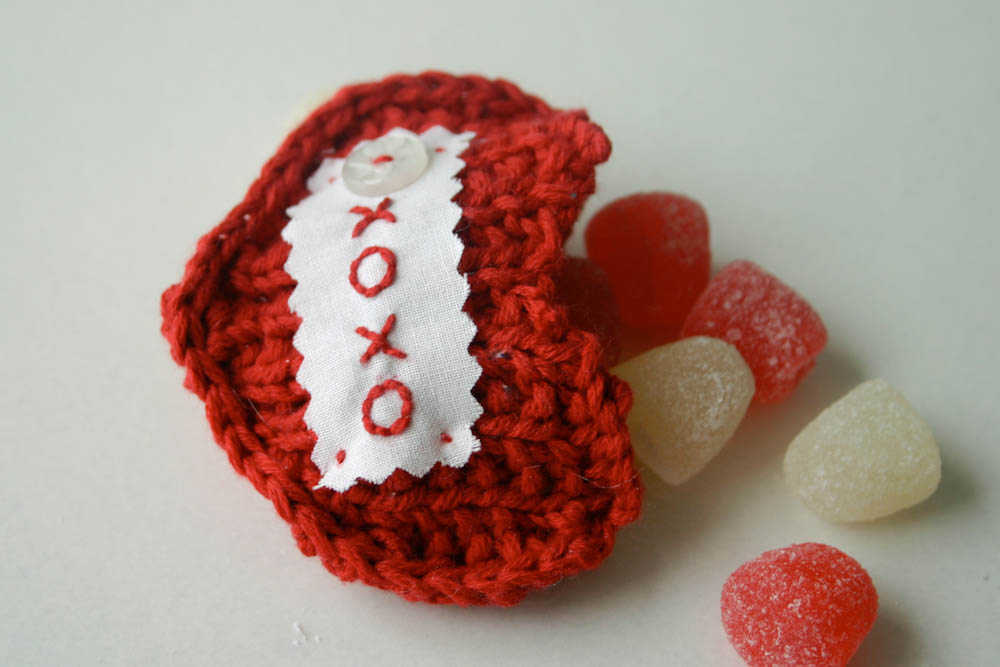
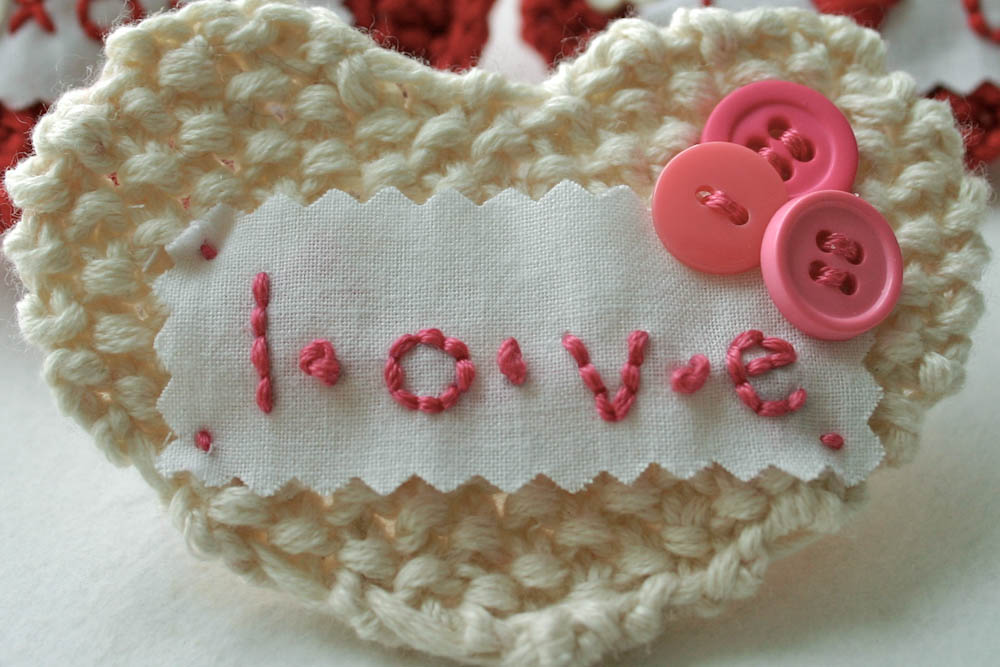
This pattern and chart can easily be adapted to moss stitch, garter stitch, etc. Now, how to decorate?? I played with yarn directly on the heart, but my favorite ones were embroidered separately. I just took a basic white muslin and wrote or drew on it myself - and embroidered with a simple back stitch or satin stitch.
 Now, how to decorate?? I played with yarn directly on the heart, but my favorite ones were embroidered separately. I just took a basic white muslin and wrote or drew on it myself - and embroidered with a simple back stitch or satin stitch.
Choose embroidery floss in a beautiful color, or twine, and bingo! Attach with some french knots or sew it on - add what you will - and voila! Please send me links to some examples that you make! I'd love to see.

Source: flaxandtwine.com


Post a Comment