![flower garden slippers [4]](http://farm5.static.flickr.com/4055/4412351745_1cc2bb5572.jpg)
Free crochet patterns: crochet slippers
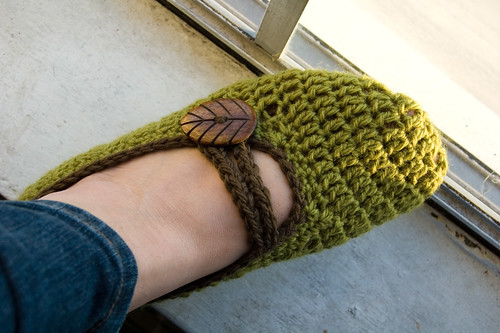
Crocheted Mary Jane Slippers
Materials:
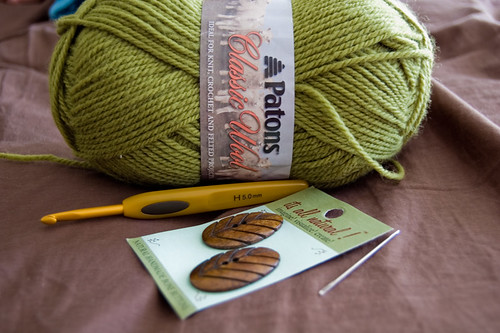
First, start with 8 DC into a circle. This is how I like to do that:you’ll also need some yarn in a contrasting color. I forgot to put that in my photo.
- worsted weight yarn
- H-hook
- 2 buttons
- tapestry needle
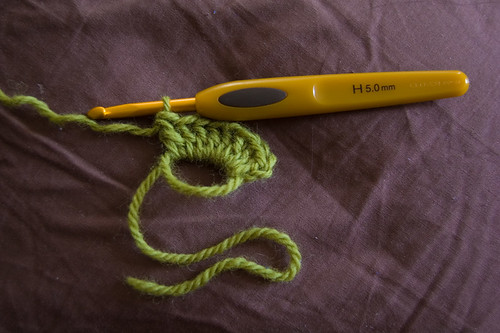
see the little tail on bottom? you pull that and it cinches the circle closed, as such:
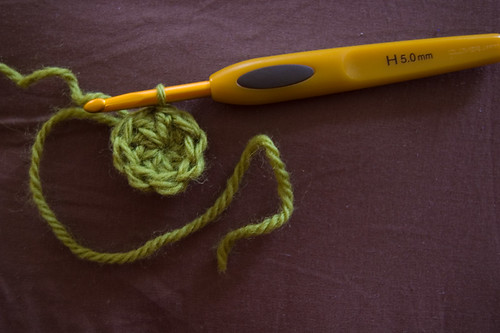
after cinching, slst into the top of the first DC, ch 2.
Round 2: 2 DC into each stitch, slst into top of the first DC, ch 2. (16DC)
Round 3: 1 DC into same place, 2 DC into next st, *1 DC into next st, 2 DC into next* to the end, slst into top of the first DC, ch 2. (24DC)
Round 4: 1 DC into st and into the next, 2 DC into next st, *1 DC into each of the next 2, 2 DC into the next* to the end of the round, slst into top of the first DC, ch 2. (32DC).
This is what my piece looked like after round 4:

Work 2 rounds even. By this time, the little “cup” should fit over your toes, like so:
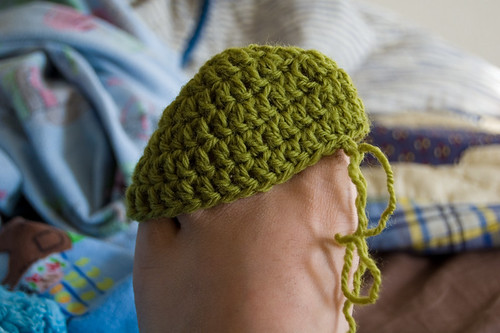
Now, we’re going to be working back and forth in ROWS. DC into the first 23 stitches, leaving 9 unworked. Ch 2, turn. It will look like this:
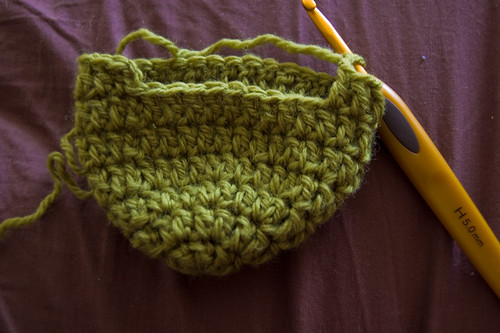
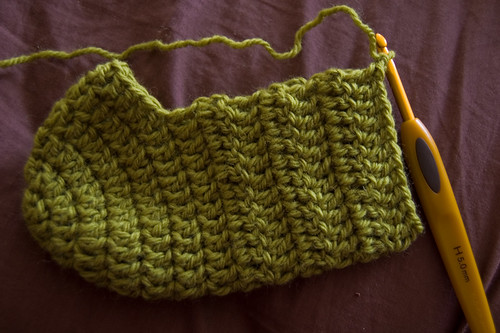
Keep working back and forth over these 23 stitches for 12 rows.
This is my half-way mark:
On row 13, DC into first 10 stitches, then DC 3 tog:
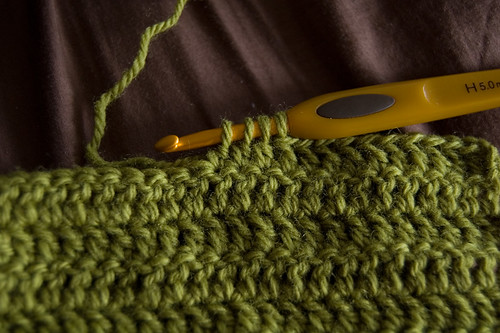
DC to the end, then seam up the heel by putting the right sides together and slip-stitching from the top down to the bottom of the heel:
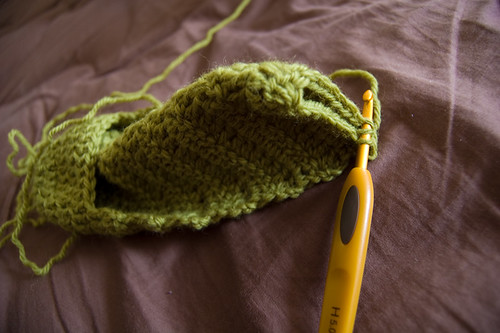
I like to grab the back-loop of the half that’s closest to me and the front loop of the other half:
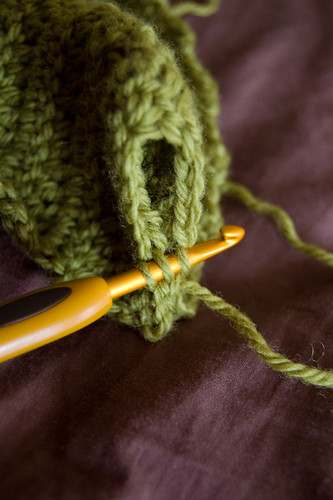
now, you should have a basic slipper. it will fit kind loose around the sides:


the following instructions for finishing up the slipper are probably what most people get stuck on. I really hope the photos help.
Here goes!
join your yarn at the center back of the slipper, above the heel.
sc into that same spot, it should be into one half of the side of a DC.
you’re going to be working down the side of the DC that make the foot of the slipper. work 23 sc down the side, til you get to a corner:
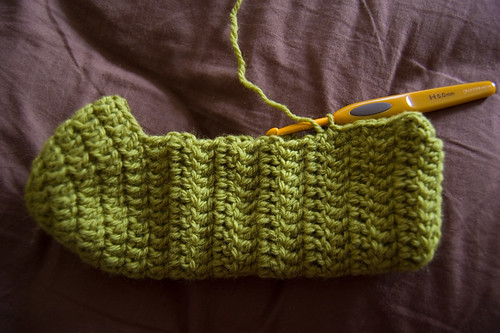
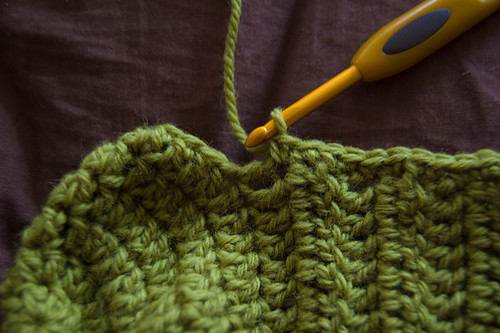
At the corner, sc3tog (half of the last side DC, and the first 2 DC on the top.
SC into next 5 DC.
sc3tog (last 2 DC on toe top, and half of the first DC up the next side:

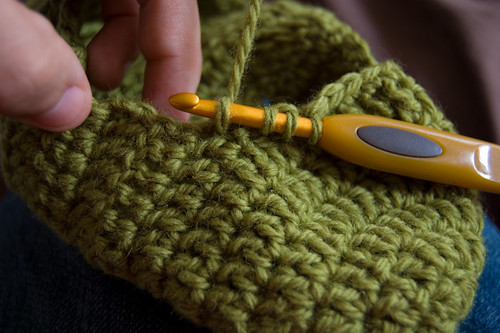
SC 24 times up the side toward the heel.
you should have space for one last SC, so SC that space together with the first sc.
(working on the second round of single-crochet): SC2tog
SC into next 22
SC3tog at the corner
SC into next 3
SC3tog at next corner
SC into next 22
SC2tog
slst into next, fasten-off.
your slipper should fit a little more snug:
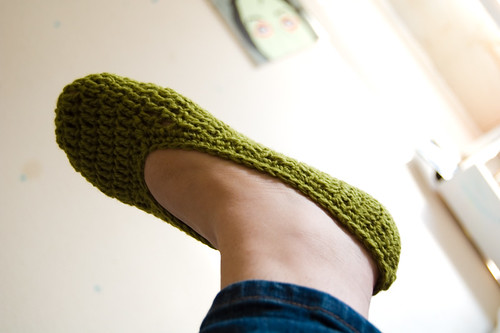
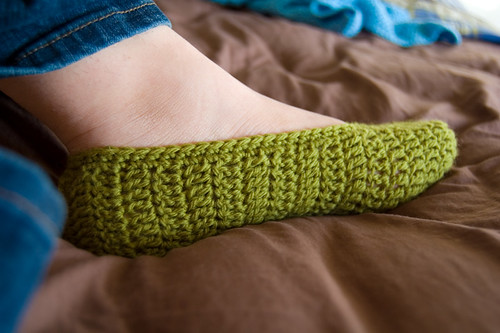
If you had any problems with the previous directions, just improvise. You’re basically just making the edge more snug. I liked to decrease at the heel and at the top two corners near the toe.
Now, join your CC yarn at the center back.
SC into same spot.
SC 31 sts (to where you want your loop closure).
On SC #32, bring up a loop approx. 2″ long:
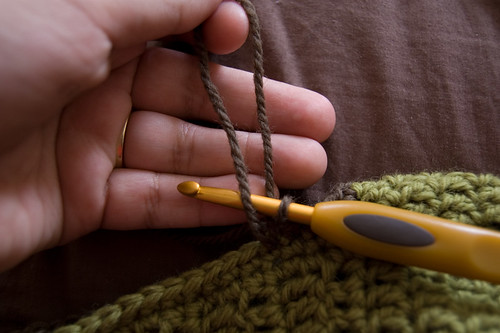
sc as usual (just w/ a big loop!) then sc to the end. slst to first, and fasten-off.
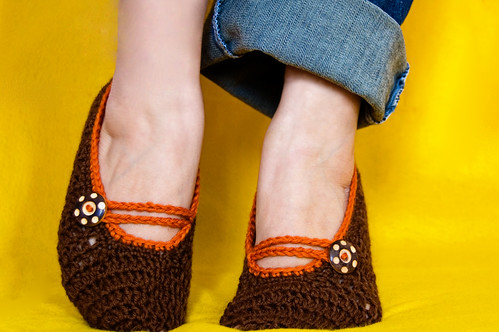
sew a button across from the loop and you’re done!
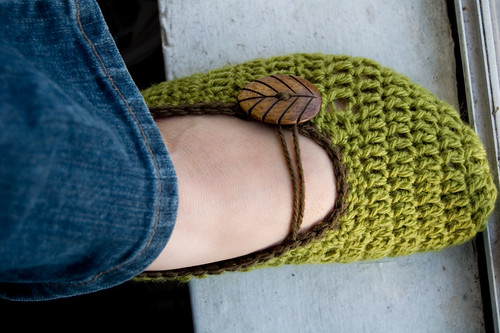
you could also re-inforce the loop by joining your yarn at the loop-sc and SC all the way around it.

Take it from


Post a Comment