Sewing patterns
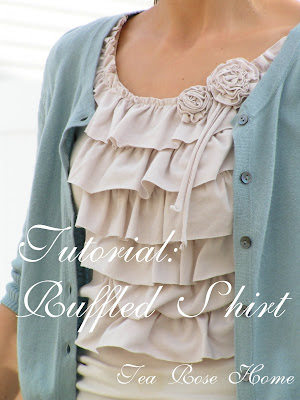
Tutorial~Ruffle shirt~
I have been a big fan of Down East Basics and Shade for a few years now. I wear Wonder tees from Down East all the time. They are comfortable, modest (hide everything I need to hide and when I bend over it doesn't flash people) and since it is not baggy, I wear it under a cardigan all the time.
There is only thing I was hoping for... I wanted the same shirt, but with a little bit more feminity and flare.
Then, one day I was at a Down East store, and going through their sales rack and found this...(The folded shirt on the left is my old shirt, I am going to use this too.)

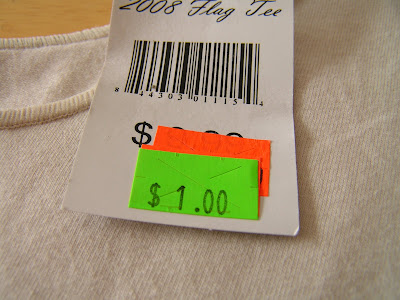
I couldn't believe my eyes, yes, I know, it was a $1!!! I asked if there are more in the back, but he said this was a left over from two summers ago, and there is no more... oh well, lucky me! I have a perfect plan for this shirt.
1. Cut the side of one shirt and open it up. Use the picture as a guide and cut up 6 peices of 2 1/2" X 12" and 2 peices of 1 1/4" strips.

2. Using big stitches, sew 2 1/2" strips a 1/4" from the edge. Pull one thread to make the ruffles. I made the the top of the ruffles 7" wide.

3. Sew the 1 1/4" strips together and make longer strips. Using big stitches, sew
the middle, pull one string to make ruffles.

4. First, pin the long strips around the neck line. Don't forget to leave the front part for the other ruffles.
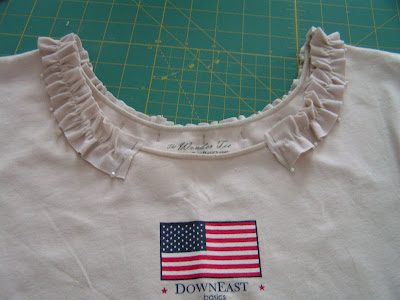
5. Then, attach the front ruffles. Make sure that the center of the shirt and center of the ruffle lines up.

6. To add the second row of ruffles, measure 1 1/2" from the edge of the first row of ruffles and line the top of the next row to it. Sew. Repeat the process to complete the shirt.
You can stop here. The shirt look perfectly ok... but I added a corsage. If you want to do so, keep reading...

7. To make the fabric string: cut one 1/2" string and strech it. To make the corsage, cut 1" strips, sew the center with big stitches and make ruffle first.


8. Take the ruffle you made at step 7, and fold it in half.

9. To start sewing the corsage, roll up the end, and start sewing the folded part, and keep spinning and sewing...


10. There, you have a flower...Now, sew them onto your desired place and the only thing left for you to do is enjoy.

That is what I did today.

Except, Rachel kept telling people, "There is an American flag hiding!" and she tried to lift up the ruffles... shhhh, naughty girl.

Source: tearosehome.blogspot.com


Post a Comment